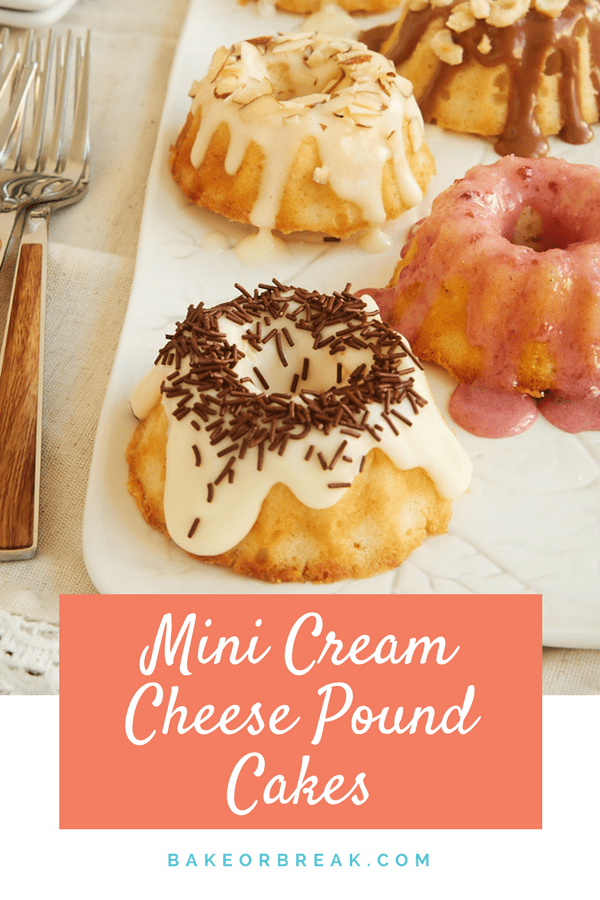
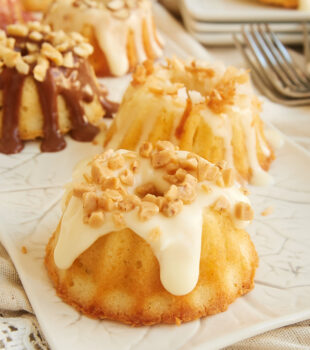
Mini Cream Cheese Pound Cakes are as simple or as fancy as you want. Dress them up with different toppings for endless possibilities!
Individual Cream Cheese Pound Cakes
A little bit of time spent browsing the pages of BoB will quickly reveal my affinity for mini versions of desserts. Their adorableness is only part of their appeal. I also love them to make serving simpler and to give as gifts.
These Mini Cream Cheese Pound Cakes are a perfect choice when you’ve got a hankering to bake some mini treats. The cakes themselves are simple and sweet and really just wonderfully delicious. Topping them with glaze is where the real fun starts. You can go with a simple glaze or up the ante with a whole slew of glaze options featuring your favorite flavors!
I turn to these Mini Cream Cheese Bundt Cakes time and again when I need simple desserts for a crowd or when I’m putting together homemade gifts. With all the different topping options, you can alter these for most any occasion and taste!
What You’ll Need
For the mini cakes:
- All-purpose flour – Measure by weight for best results. If you don’t have a kitchen scale yet, use the spoon and sweep method.
- Salt
- Unsalted butter – Set out the butter about half an hour before baking to allow it to soften.
- Cream cheese – Bring the cream cheese to room temperature so it will mix smoothly.
- Granulated sugar
- Eggs
- Vanilla extract or vanilla bean paste
For the glaze:
- Confectioners’ sugar – Sift for a smooth glaze.
- Heavy cream
- Various garnishes – Add a topping or a variety of toppings if you like. Nuts, coconut, chocolate, toffee bits, sprinkles… Just about anything!
How to Make Mini Cream Cheese Pound Cakes
Prepare for baking. Heat the oven to 350°F. Grease mini Bundt pans. (Each cavity should have a 1/4-cup capacity.) I recommend a cooking spray with flour, like Baker’s Joy or Pam for Baking.
Combine the dry ingredients. Whisk together the flour and salt.
Combine the wet ingredients. Beat the butter and cream cheese until creamy, using an electric mixer. Gradually add the sugar while mixing, and mix well. Add the eggs, one at a time, mixing just until the yellow of the egg disappears. Mix in the vanilla.
Add the dry ingredients to the wet ingredients. With the mixer on low speed, gradually add the flour mixture. Mix just until combined.
Fill the pans. Divide the cake batter evenly among the pans, filling each cavity 3/4 full. You’ll use about 2 & 1/2 tablespoons of batter per cavity.
Bake. Bake the cakes 18 to 20 minutes, or until a toothpick inserted into the center comes out clean.
Cool the cakes. Place the pans on a wire cooling rack and allow the cakes to cool for 10 minutes. Then transfer the cakes from the pan to a wire rack to cool completely.
Make the glaze. Stir together the confectioners’ sugar and 3 tablespoons of the cream. Continue adding cream, a small amount at a time, until the glaze is the consistency you want.
Glaze the cakes. Drizzle the glaze over the cooled cakes. Add any garnishes you like.
More Topping Ideas
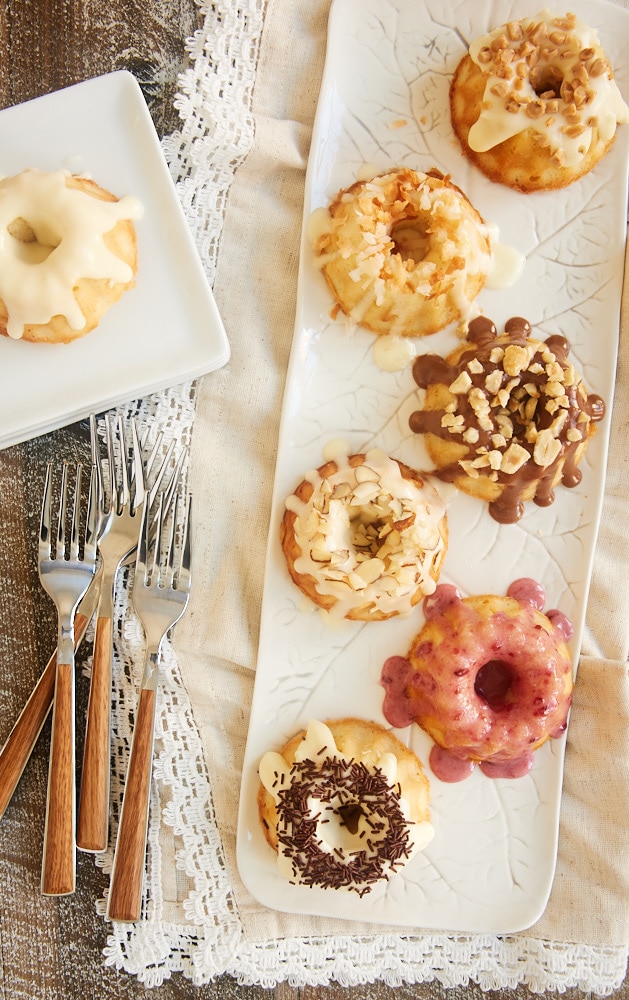
The simple glaze recipe I’ve included is a lovely pairing with these little cakes. For something a little different, here are some more ideas for topping these Mini Cream Cheese Pound Cakes.
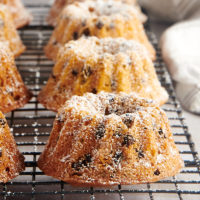
- Simple and sweet: Skip the glaze and just add a sprinkling of confectioners’ sugar to each cake.
- Almond: Add 1 teaspoon of almond extract to the glaze and top with sliced almonds.
- Vanilla bean: Add 1 teaspoon of vanilla bean paste to the glaze.
- Fruity: Add 2 to 3 tablespoons of your favorite fruit preserves to the glaze.
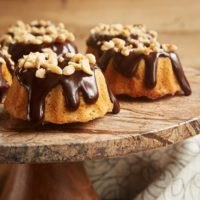
- Chocolate-hazelnut: Add 1 or 2 tablespoons of chocolate-hazelnut spread to the glaze. Add a small amount of cream or milk as needed to get the desired consistency. Top with chopped toasted hazelnuts.
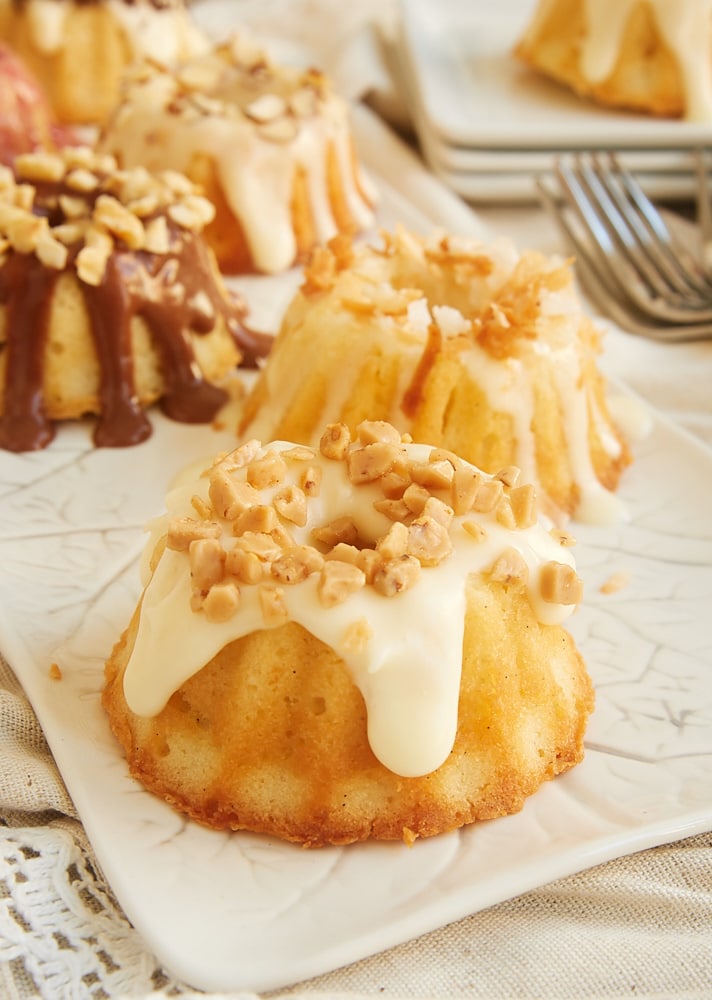
- Caramel: Make your own or use your favorite store-bought brand. Top with chopped nuts or toffee bits.
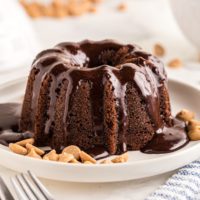
- Chocolate ganache: You can never go wrong with chocolate!
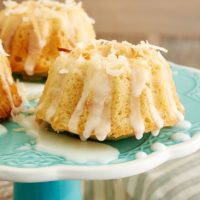
- Coconut: Use 2 tablespoons of coconut milk in place of the cream in the glaze. Top with toasted coconut.
- More ideas: Find lots more glaze options in the Recipe Index.
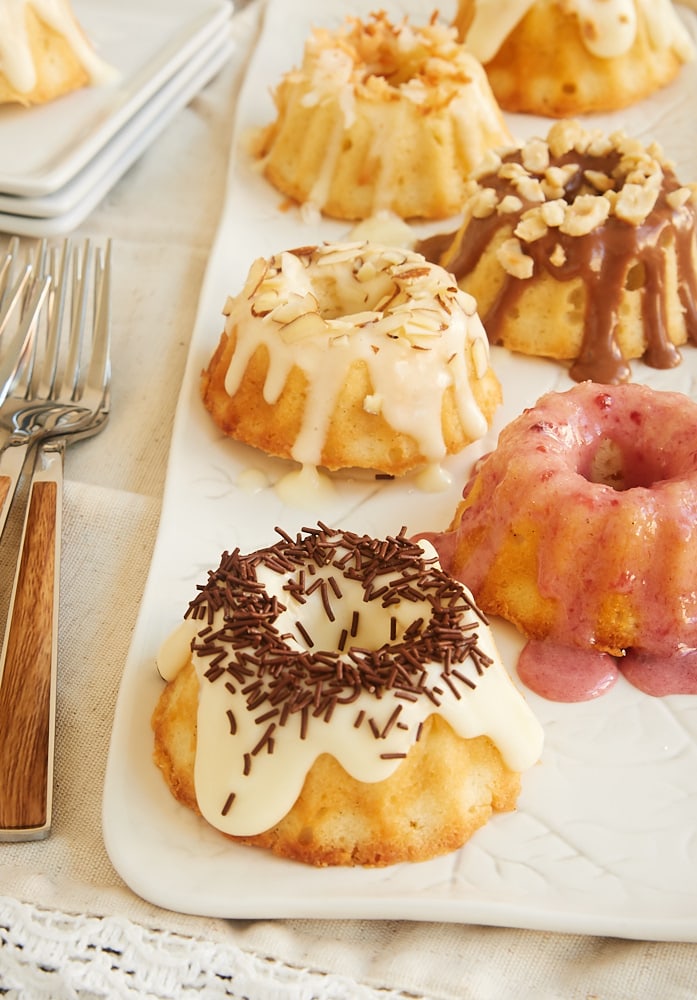
These cakes with all their different toppings and glazes are certainly eye-catching. If you’re going for variety, I would suggest picking a few variations. Don’t go overboard, or you’ll spend way too much time making all the different glazes.
Tips for Success
These little pound cakes are quite straightforward to make. I do have some tips about the pan that will prove helpful.
- Grease the pans well. I have the best luck with a baking spray with flour, like Baker’s Joy or Pam Baking. Make sure to coat all the nooks and crannies of your pan!
- Don’t over-fill the pans. Otherwise, you might end up with a mess in the oven.
- If you’re re-using pans, be sure to let them cool completely between batches.
- Measure your pan. If you’re not sure of the capacity of your mini Bundt cake pan, then you can easily measure that by filling one of the cavities with water and measuring how much it can hold. The ones I use for this recipe have a 1/4-cup capacity. If you use a pan with a different capacity, you will likely need to adjust the baking time.
- Don’t have a mini Bundt pan? A standard muffin pan also has cups with a 1/4-cup capacity. The shape will obviously be different, but the baking time should be about the same.
How to Store Mini Pound Cakes
While these cakes are likely best within a day of baking them, the unglazed cakes should keep for up to 3 days at room temperature in an airtight container. For longer storage or for storing with the glaze, place them in a single layer in an airtight container in the refrigerator. Keep in mind that storing the glazed cakes is likely to make the cakes soggy.
Bring the cakes to room temperature before serving.
How to Freeze Mini Pound Cakes
For best results, freeze these cakes without any glaze or topping added. Wrap the unglazed cakes in plastic wrap and place in an airtight, freezer-safe container. Thaw overnight in the refrigerator or for a couple of hours at room temperature. Stored properly, the cakes should keep in the freezer up to 3 months.
More Mini Bundt Cake Recipes
Mini Cream Cheese Pound Cakes
Ingredients
For the cakes:
- 3 cups (360 g) all-purpose flour
- ¼ teaspoon salt
- 1 ½ cups (339 g) unsalted butter, softened
- 8 ounces (226 g) cream cheese, softened
- 3 cups (600 g) granulated sugar
- 6 large eggs
- 1 tablespoon (15 ml) vanilla bean paste or vanilla extract
For the glaze:
- 1 cup (110 g) confectioners' sugar, sifted
- 3 to 5 tablespoons (45 to 75 ml) heavy cream
- chopped nuts, toffee bits, toasted coconut, sprinkles, etc. for garnish
Recommended Products
Instructions
To make the cakes:
- Preheat oven to 350°F (175°C). Grease or spray a 1/4-cup capacity mini fluted Bundt pan(s).*
- Whisk together the flour and salt. Set aside.
- Using an electric mixer on medium speed, beat the butter and cream cheese until creamy. Gradually add the sugar and beat well. Add the eggs, one at a time, beating just until yellow disappears. Mix in the vanilla.
- Reduce mixer speed to low. Gradually add the flour mixture, mixing just until combined.
- Fill the prepared pans 3/4 full with batter, using about 2 & 1/2 tablespoons of batter per cup. Bake 18 to 20 minutes, or until a pick inserted into the center comes out clean.
- Cool the cakes in the pans for about 10 minutes. Then, remove from the pans to a wire rack to cool completely.
To make the glaze:
- Combine the confectioners sugar with about 3 tablespoons of cream. Add more cream, a small amount at a time, until the glaze is the desired consistency.
- Drizzle the glaze over the cooled cakes. If desired, top with chopped nuts, toffee bits, toasted coconut, sprinkles, or other topping of your choice.
Notes
- *I have a pan similar to this one, although it’s a light-colored pan. (Remember that a dark pan will bake the outer parts of the cakes faster than a lighter pan will.) Each cup of my mini Bundt pan measures 2 & 3/4 inches in diameter and 1 & 1/4 inches tall. Remember if you’re reusing a pan to let it cool completely before filling and baking again.
- Other glaze options:
- Almond: Add 1 teaspoon almond extract. Top with sliced almonds.
- Vanilla bean: Add 1 teaspoon vanilla bean paste.
- Fruity: Add 2 to 3 tablespoons of your favorite fruit preserves.
- Chocolate-hazelnut: Add 1 or 2 tablespoons of chocolate-hazelnut spread. Add a small amount of cream or milk as needed to get the desired consistency. Top with chopped toasted hazelnuts.
- Caramel sauce: Make your own or use your favorite store-bought brand. Top with chopped nuts.
- Chocolate ganache: You can never go wrong with chocolate!
- Coconut: Use about 2 tablespoons of coconut milk in place of the cream. Top with toasted coconut.
- More glazes: Find even more glaze options in the Recipe Index.
- Cake recipe slightly adapted from Southern Living.


36 Comments on “Mini Cream Cheese Pound Cakes”
I always have such problems with bundt pans. Would it be easier with a silicone version? I can’t wait to make these for holiday gifts!
Hi, Chantelle. Personally, I prefer regular pans to silicone. Of course, that’s a matter of preference. If you’d rather use silicone, then go for it. I use a baking spray with flour (like Baker’s Joy or Pam for Baking) and very, very rarely have any issues.
How many mini bundt is this recipe make?
Hi, Donna. The recipe makes 30 cakes.
The pan you gave the link to, about how much batter fits into each little cake impression? I have a pan with 6 much bigger cake impressions, and I’m wondering if I should cut this recipe in half. Six would be fine, but I don’t want, say 12 or more.
I think I smarter question would be, can you guestimate how much batter 1 1/2 c butter and 3 cups flour makes?
The mini Bundts have a 1/4-cup capacity, although they only get filled about 3/4 full. So, I’d estimate you’d have between 5 & 1/2 and 5 & 3/4 cups of batter from the recipe as written.
Pefect, thanks Jennifer. Now I just need to measure my pan and make the recipe accordingly!
These mini pound cakes look so delicious and soft! I love how the frosting drizzle on the sides – simply stunning ♥
Is there baking powder?
No, it’s not needed for this recipe.
Will the cake still rise without baking soda
I meant baking powder
Hi, Charlotte. I’ve made them multiple times just as written, and they turn out beautifully. The pictures should give you an idea of how the finished cakes look.
If I use the the 6 cup Nordic bundt pan , how many will this batter yield? I don’t want 30! Should I half the recipe??
Hi, Lynn. My best guess is that this recipe yields a little more than 5 & 1/2 cups of batter. That’s too much for one 6-cup pan if you fill it 3/4 full. You’d have to do some unusual scaling to get it just right. Could you fill your 6-cup pan 3/4 full and use the remaining cup or so of batter to make a few cupcakes?
Can these little pound cakes be frozen for about two weeks, defrosted, and then glazed?
I’m trying to get as much ‘pre-work’ done as possible for an upcoming college sendoff party. I need this to be a make ahead recipe.
Hi, Martha. I’ve not tried freezing them, but I think that would be fine.
What if I don’t have unsalted butter?
Hi, Christina. You’ll likely want to reduce the salt in the recipe. It’s hard to say how much to reduce it because there is no standard for how much salt is in salted butter. That’s why I recommend baking with unsalted butter.
I have 2 twelve count mini Bundt pans as shown. If I still have batter left while the others are baking will the batter still be ok to use. Also how do you place your pans in the oven while baking.
Thanks
Hi, Keenya. Yes, you can wait to bake the second batch until the first is done if both pans won’t fit in your oven without being too crowded. I usually place my oven rack in the middle third of the oven. If you bake two pans at once, just place them side by side with a bit of space between them. Otherwise, just place a single pan centered on the rack.
Hi Jennifer,
Can I use mini loaf pans for this recipe? Thank you
Hi, Diane. Yes, that should be fine. You’ll likely need to adjust the baking time depending on the size of your pans.
I’ve used this recipe for years, and it’s a family favorite! It freezes very well, in fact, my family likes it even better when it’s been frozen and defrosted. It gets a little gooey, which they love! Thanks for all the glaze and topping ideas!
That’s wonderful to hear, Ginny!
This cake recipe is amazing! I baked these mini cakes for a baby reveal party instead of the standard cupcakes. So moist and delicious! My family enjoyed them so much!
Thank you
I’m so glad these are a hit for you, Wendy!
Made this today. These are awesome! Used my Dash mini bundt cake maker and cooked 7-8 min ea. The family loves them Will definitely be making these again!! Made 15 mini bundts.
So glad you liked them, Julie!
Hi I just made these with gluten free flour. I also had bigger Bundt silicone baking pans. The batter was very thick, didn’t spread easily into the pan. The bottoms were not even because the batter didn’t spread out when it baked, and it was so thick it was hard to get it even. I followed the directions completely, and didn’t leave out any ingredients. Perhaps the gluten free flour messed with the batter. Any thoughts or suggestions?
Hi, Laura. I don’t bake with gluten-free flour, so I don’t know how it would affect this recipe. With other flours, if your batter is too thick, that usually means too much flour. If you followed the GF flour’s recommendations for substitution, then make sure you’re measuring accurately. It’s very easy to over-measure flour if you’re scooping down into the container. Either measure by the weight information provided with your flour or spoon the flour lightly into the measuring cup until it’s over-filled, and then use the back side of a knife to sweep across the top to remove the excess.
I love love love these little bites of deliciousness and so do my friends and family! They are requested over and over again. They’ve become a regular in my baking.
That’s so great to hear, Donna! I’m so glad they’re a hit for you. 🙂
Hello I’m using (4) 4” inch mini bundt pans , I’m assuming to fill each pan 3/4 full but how long to bake? Also should I grease & flour each pan? Thank you for any advice.
Hi, Niely. My guess is that they’ll need a few more minutes of baking time. I’d add 3 or 4 minutes and then assess from there. With the larger size, the outsides will likely look done before the inside is thoroughly baked, so you’ll need to be sure to use the pick test to test for doneness. You’ll need to grease each cup you’re using.