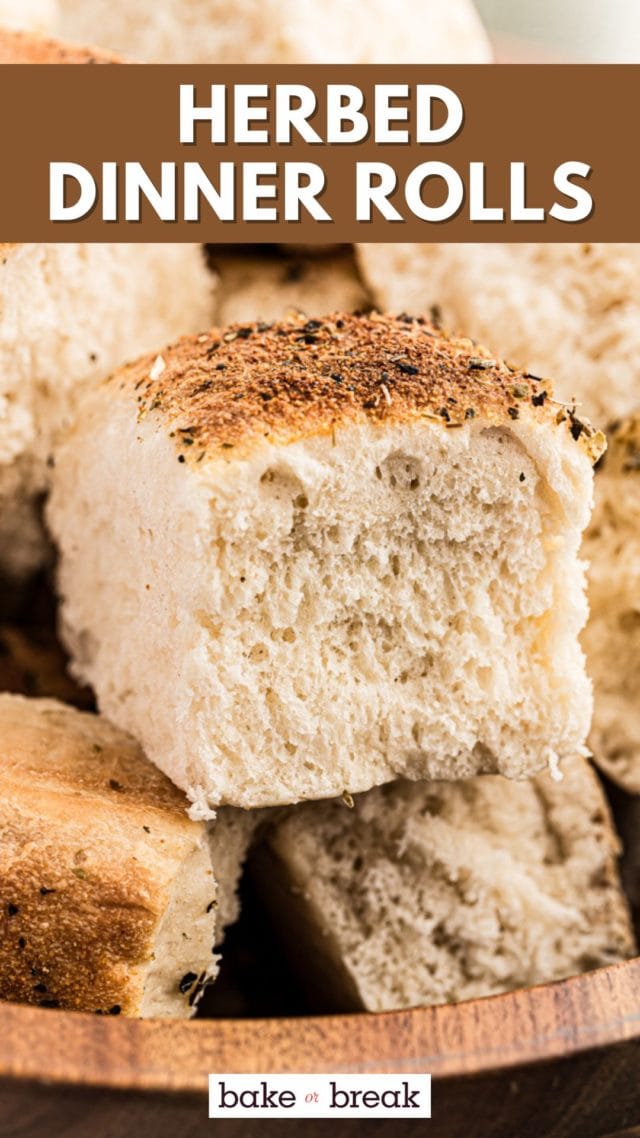
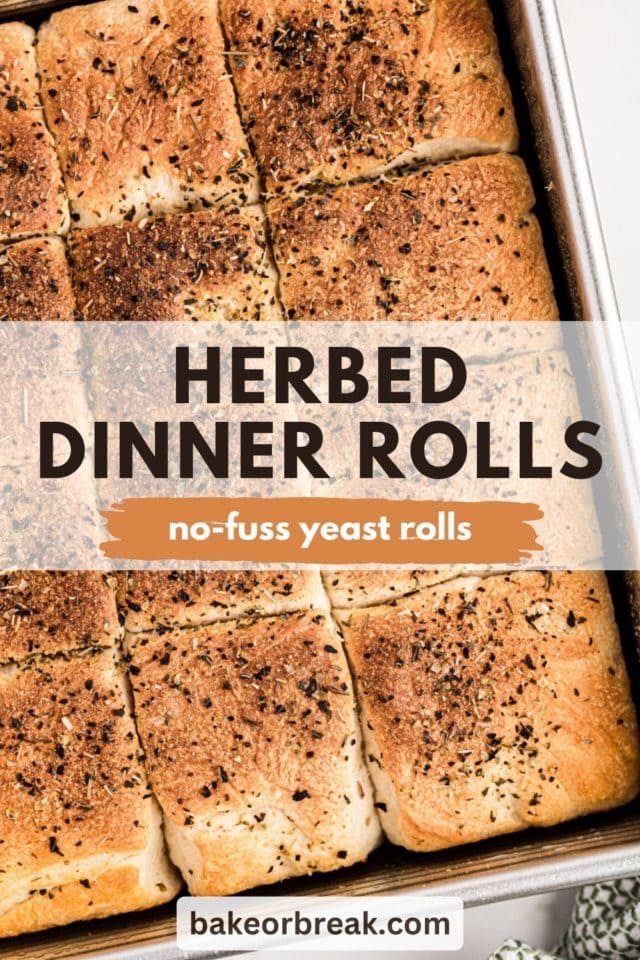
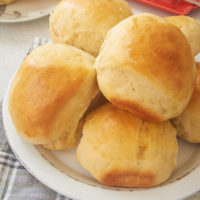
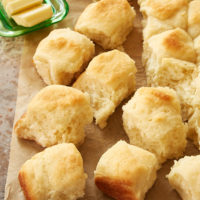
Want homemade yeast rolls without a lot of fuss? These herbed dinner rolls are the answer! Fluffy, buttery, and infused with herb flavor, they’re the perfect accompaniment to any meal.

I’ll readily admit that yeast breads are not my strong suit when it comes to baking. Luckily, these herbed dinner rolls are ideal for beginners. I’m thrilled to have this easy recipe in my baking arsenal—the only problem will be keeping myself from making them too frequently!
Why You’ll Love This Herbed Dinner Roll Recipe
- Faster than traditional rolls. This dinner roll recipe utilizes instant yeast to cut down on the time needed for the bread to rise. There’s a total of 30 minutes of resting time for these rolls, meaning you can have them ready for the oven in about an hour. That’s a big, big win.
- Easier, too. One of the things that contributes to the speed of making these rolls is that there’s no need to shape them individually. Just place the dough in the pan and use a knife to cut the bread. I prefer not to cut all the way through so that the rolls will come out of the pan easily and in one piece. Then they just tear apart for serving.
- Perfect texture and flavor. I have to say that these herbed dinner rolls are winners in both categories. They are so nicely soft and fluffy. And even without the herbed topping, the flavor is fantastic. Add the topping into the equation, and they’re even more amazing.

What You’ll Need
Scroll down to the recipe card to find the ingredient quantities and recipe instructions.
- All-purpose flour – Here’s how to measure flour.
- Granulated sugar
- Instant yeast – Be sure your yeast hasn’t expired and was stored properly to ensure good results.
- Salt
- Milk – Whole milk will yield the best crumb, but any milk you have in the fridge will work.
- Water
- Unsalted butter – You’ll need some for the rolls themselves and some for the herb topping. Learn more: Unsalted or Salted Butter: Which is Better for Baking?
- Egg
- Herbs and spices – Dried basil, dried oregano, and garlic powder.
What’s the Difference Between Instant Yeast and Active Dry Yeast?
Instant yeast, used in this herbed dinner roll recipe, can be added directly to the dry ingredients without needing to be dissolved in water first. It’s known for its reliability and quick rise times. Active dry yeast, on the other hand, requires activation in warm water before being incorporated into a recipe. Though both types of yeast will result in delicious baked goods, instant yeast streamlines the process.
How to Make Herbed Dinner Rolls


- Mix the dry ingredients. Combine 2 cups of flour with the sugar, yeast, and salt in a large bowl.
- Warm the wet ingredients. Heat the milk, water, and cubed butter until very warm (120° to 130°F).
- Combine the dry and wet ingredients. Stir the warm liquids into the flour mixture. Then, stir in the egg and enough of the remaining flour to make a soft dough.


- Knead. Transfer the dough to a lightly floured work surface. Knead until smooth and elastic, or for 6 to 8 minutes. Cover and let rest for 10 minutes.
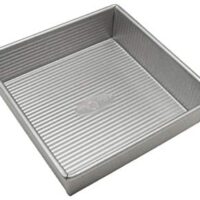
- Cut the rolls. Grease two square pans. (I recommend a cooking spray with flour, like Baker’s Joy or Pam Baking.) Divide the dough in half, then roll each half to fit the pans. Use a sharp knife to cut the dough in each pan into 16 rolls. Cover.


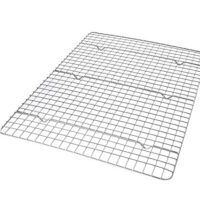
- Rise. Fill a shallow 9″x 13″ pan with boiling water, then set a wire rack over the pan. Place the baking pans on the rack. Let rise for 20 minutes.
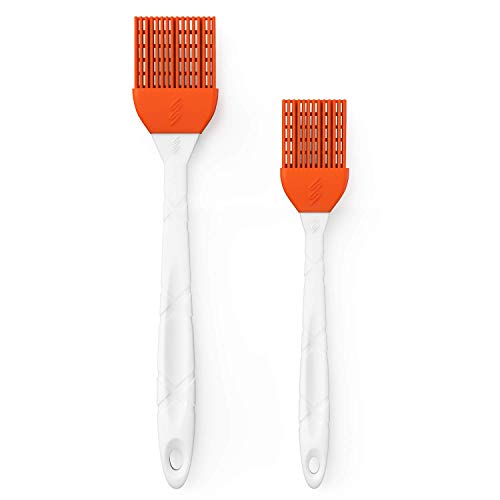
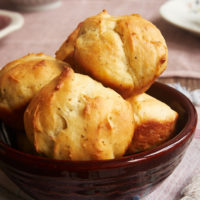
- Prepare to bake. Preheat your oven to 400°F and brush the melted butter over the tops of the rolls. Combine the spices and sprinkle the mixture over the tops of the rolls.
- Bake. Place the pans in the oven and bake for 15 minutes, or until the rolls are browned. Cool on a wire rack.

Tips for Success
Before you begin making your homemade dinner rolls, read through these tips to help make yours turn out perfectly.
- Measure accurately. Use a digital kitchen scale to measure by weight when possible; especially when working with yeast breads, weight is always preferable to volume.
- Use an instant read thermometer. This isn’t absolutely necessary, but it’s a great tool for this herbed dinner roll recipe if you already have one.
- New to kneading or just need a refresher? I encourage you to watch this video from King Arthur.
- Get a head start. The recipe makes two pans of rolls. You can cover the pans and refrigerate for up to 48 hours before baking if you like. Granted, they won’t be quite as good as they’d be if you baked them immediately, but it is definitely a time saver when you’re prepping a big meal.

Variations
This is such a versatile recipe! Even just changing the topping can give you so many options. Go with butter and garlic for a simple side to some pasta. Add a little Cajun seasoning for a spicy kick, or try everything bagel seasoning for crunch and savory flavor. You can also just keep things simple by brushing melted butter on top.
Serving Suggestions
Serve these herbed dinner rolls with something simple like soup or alongside a bigger meal. (They’re great for holidays like Christmas and Easter!) Or try splitting them in half and making a little sandwich or using them as slider buns.

How to Store
Keep leftover herbed dinner rolls in an airtight container at room temperature; they should stay fresh for up to 3 days. You can reheat them in the microwave for a few seconds or in a 350ºF oven if you prefer them warm.
Can I Freeze This Recipe?
For longer storage, wrap herbed dinner rolls tightly in plastic wrap and then wrap again in aluminum foil or place in a zip-top freezer bag before placing them in the freezer; they’ll last for about 2 months. To reheat, simply warm them in a microwave or preheated oven until they’re toasty and fragrant, or let them thaw at room temperature.

More Savory Baking Recipes
- Quick No-Knead Focaccia
- Potato Rolls
- Pretzel Bites
- Cheddar and Chive Cornmeal Biscuits
- Sour Cream Corn Bread
Herbed Dinner Rolls
Herbed dinner rolls make yeast baking so easy, mixing quickly and only needing a short time to rise. They're wonderfully soft and oh so delicious!

Ingredients
- 4 & 3/4 cups to 5 & 1/4 cups (570g to 630g) all-purpose flour, divided
- 1/3 cup (and 67g) granulated sugar
- 0.5 ounce (14g) instant yeast (2 envelopes)
- 1 & 1/2 teaspoons salt
- 3/4 cup (177ml) milk
- 3/4 cup (177ml) water
- 1/4 cup (56g) unsalted butter, cut into cubes
- 1 large egg
- 2 tablespoons (28g) unsalted butter, melted
- 1/2 teaspoon dried basil*
- 1/2 teaspoon dried oregano*
- 1/4 teaspoon garlic powder*
Instructions
- Combine 2 cups (240g) of flour, the sugar, yeast, and salt in a large bowl.
- Heat milk, water, and cubed butter until very warm, 120° to 130°F. (I use a digital instant read thermometer to measure the temperature.) Stir into the flour mixture.
- Stir in the egg and enough of the remaining flour to make a soft dough.
- Transfer the dough to a lightly floured surface. Knead until smooth and elastic. This should take 6 to 8 minutes. Cover and let rest for 10 minutes.
- Grease two 8- or 9-inch square pans. Divide the dough in half. Roll each half to fit the pans.
- Use a sharp knife to cut the dough in each pan into 16 rolls. Cover.
- Fill a shallow 9"x 13" pan with boiling water. Set a wire rack over the pan.
- Place the baking pans on the rack. Let rise for 20 minutes.
- Preheat oven to 400°F.
- Brush the melted butter over the tops of the rolls. Combine the spices and sprinkle over the tops of the rolls.
- Bake 15 minutes, or until the rolls are browned. Cool on a wire rack.
Notes
*The topping can easily be changed to suit your tastes or to complement your meal. Fresh herbs will work, too.
If you need a refresher on how to knead bread dough, I recommend watching this video from King Arthur Flour.
Recipe slightly adapted from Fleischmann’s Breadworld.
Recommended Products
Bake or Break is a participant in the Amazon Services LLC Associates Program, an affiliate advertising program designed to provide a means for us to earn fees by linking to Amazon.com and affiliated sites.


11 Comments on “Herbed Dinner Rolls”
ohh these are gorgeous! and I love how simple they are!!!
If I want to make ahead, at what step do you cover and refrigerate? Before placing on wire rack to rise?
Hi, Catherine! When I refrigerate the dough, I do everything up to baking them. Then I just set them out at room temperature and uncover them for 10 or 15 minutes before baking.
Hi Jennifer- does this dough freeze well? 32 rolls is far too many for me to bake at one time. Every recipe of yours that I have tried so far is fantastic. Keep up the good work!
Hi, Paula. I’ve not tried freezing this dough, but most yeast doughs will freeze at least fairly well. You could try freezing the dough after it’s risen but before it’s put into the pan. I think you could also shape and cut them in a pan, freeze them, and then remove them from the pan to freeze. Keep in mind that the longer they’re frozen, the more likely that the yeast will lose some of its power and affect the texture of the rolls.
I’ve been baking bread for decades and this recipe is perfect! After the dough had rested for 10 minutes, it was a pleasure to handle, soft but not sticky. Sounds weird, but you can tell how the rolls will be when baked. My family thanks you!
Hi, Lisa! Yes, this dough is just lovely to handle. I’m glad you liked the rolls!
You have a winner here! I just made this – so easy to make and light as a feather. I used Trader Joe’s
everything but the bagel topping. Outstanding! You’d have to beat people off at a dinner party!
Oh, I do love an everything topping! I’m so glad you liked them!
Question : you say to put rolls in the oven to rise with the pan of boiling water. Then heat the oven to 400°- you do not say to remove the buns while the oven heats up? What am I missing ? Thanks
Hi, Nancy. The rolls aren’t put into the oven until time to bake. The pans are set over the pan of boiling water before being put in the oven so that they can rise. That can just be set up on your countertop. After that rise time, then the rolls are baked in the oven.